Friday, July 17, 2015

Molded Embellishments

I have discovered that I love to make my own embellishments using either Clay, Air-Dry Clay, Mod Melts, Hot Glue or quick set Resin.

I love using molds that I have found at local stores and various places online but I also love making my own molds to use from just about any object I find laying around that can form a good mold to make things from.  I must confess that I have a container of things sitting here waiting for me to get more mold putty and turn them into molds.

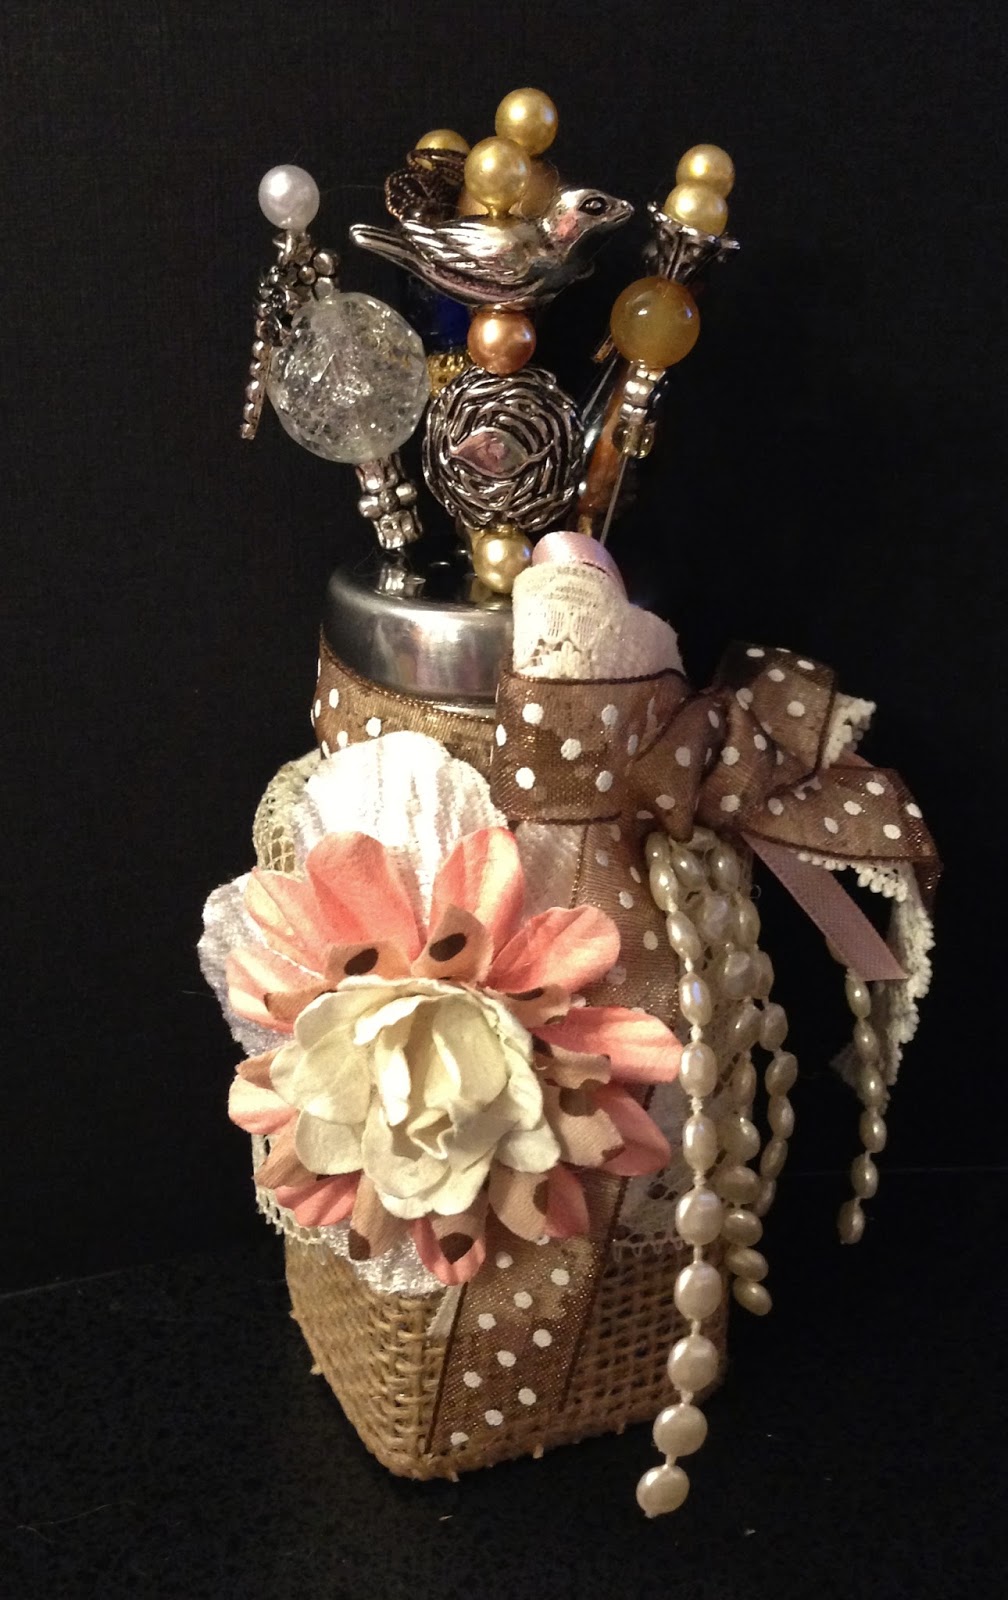
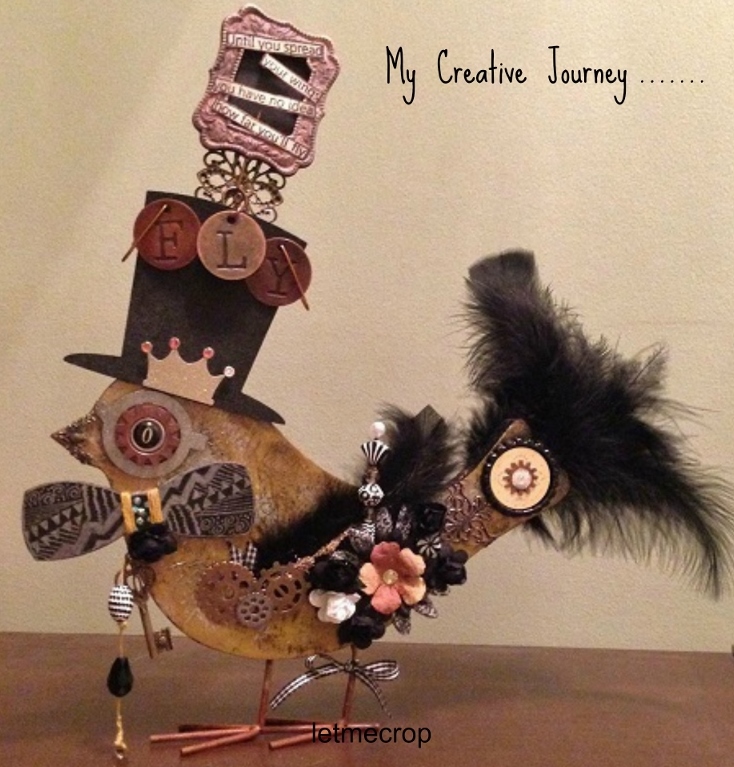
Here are a few of pieces I have made from all the different molds using the different mediums listed above.  They are just waiting to be painted, inked, or sprayed to finish them off for whatever project they will be used on.


Random ATC's

Here are some random ATC's that I have made in the past.  One of my favorite ways to use up scraps from other projects.


Flowers

I never have enough flowers and am always messing around with ways to make my own from what I have laying around instead of having to buy them all the time.  Here are a few techniques I have dabbled in to make some.
These are some of my favorite ones to make using the TH tattered floral die (five of them for each rose) and forming and hot gluing them and then I can add my DIY shimmer spray to them before using them on projects
close up top view of the tattered rose with the bottom 'bloomed' out
close up side view of the tattered rose
I had some little five petal flat flowers so I used four of them to crinkle up and hot glue together to form some small roses.
I free form cut some wavy strips from some of the foam shelf liner and then just did a running stitch to form the flower and then added a cheap stud earring for the center that I had snipped the backing off of.

Butterfly

I found these little butterfly hair clips at Dollar Tree a few years ago and the clip on them is so small that I don't think it would even hold baby hair so I needed to figure out something to do with all of them.

I decided to try some metallic colored nail polish on them since they were plastic and I just love how they came out.  Now I can have a nice supply of embellishments that look awesome and I am able to clip them to projects !

Random Altered Art

Just some random things I have altered along the way to transform them into some art.
Matchbox

Domino

Domino's

Puzzle Piece

Puzzle Piece

Birthday Box

A challenge we had at Craft that Divas on FB last fall for our one year anniversary was to make a Birthday Cake box.

I made mine using some of the little paper mache boxes that I covered and stacked and then decorated it up for the birthday celebration.  I made it where it will open so you could add things to the bottom box.

Altered Mirror

I entered a YT contest for Amber at Reflections of Amber to make a sign for her opening videos.  She loves purple and she also loves Peacocks.

Since she goes by Reflections of Amber my first thought focused on the "reflections" and I knew I had to find and alter a mirror.   I made trips to several thrift stores until I finally found a mirror.  Brought it home and painted it and then fussy cut some paper I had with a Peacock on it to add to the front along with some embellishments and trim and added her logo as the finishing touch.
**  I was the winner of her drawing and won a box full of destash goodies from her**
 

Tags

Here are some Tags that I have made for different things.

These I did as an Angel for a swap member that received very poorly made tags back from her partner which is always disappointing when you make and send awesome and get back paper with stickers stuck to it.  She was new to swapping and I felt bad that one of her first experiences ended with her being so disappointed so I made her a set of the tags that she could be happy receiving in a swap.  The theme was Spring and Ooh-la-la.
 

This one I did as and Angel for a swap member that did not receive their return swap from their original partner.

This one was made for a swap and I used my TH dress form die to cut several book pages to make a half 3-d dress form.  I also did some mixed media techniques on the background.

This one was made for a challenge on a FB group I used to belong to.  We were to take a piece of ugly paper, an ugly trim, and an ugly embellishment and turn them into an awesome tag.  Here are my before and after pictures.


Stick Pin Swap

I was in a swap at Craft that Divas on FB and we were to make a set of stick pins with a holder for our swap partner.   My partner liked the colors of Pink, Brown, and Beige.  Once I started making the Stick Pins I couldn't seem to stop so I ended up with more than I was supposed to make for the swap.  My solution to this little problem was to just make another Pin holder and send them both to her.  I made the felt holder following a video from my friend Tiffany that can be found HERE to add the pink ones to and then I altered a Salt Shaker to hold the brown / beige ones.


Close up of all the pins


Altered Wood Box

Just a little wooden Pencil Holder box that I painted and altered to mail off to a friend who loves Pink and Black !

I added a piece of vellum backed with a piece of paper I had stamped some clouds on behind the opening in the front.  The side view shows the dimension where I fussy cut all the pieces from the Designer Paper and popped them up in areas to build my scene.

Pocket Letter Swap

I was lucky enough to get a spot for the Vintage category in a Pocket Pal Letter swap being done by Scrapdaworld over on YouTube and her is my entry for it along with a set of extra goodies I made to send along for everyone.  We had to make 9 of each of our entries so when we got the swap back we would have one of our own along with eight different ones from the other swappers to be able to fill up our pocket letters.   So I made nine of these ATC's along with 18 of the extra goodies (3 each for each swapper and a set for the hostess)


and here is how I packaged them for the swap with the ATC in a clear sleeve attached to the little gift bag that was folded over and holding the hand crafted extra's.
I used my EK punch to punch out the mason jars from Kraft paper to hold my embellishments.  On one of them I made a dangle charm with vintage looking beads, on another I made two DIY roses from flower pieces I had die cut out, and on the last one is a dress form made from a mold I made and then filled with air dry clay and after it was dry I rubbed Gesso over it with my finger to distress it a bit to give it a more vintage feel.

Canvas

A friend posted a quote that she liked on her FB page and I thought it would be nice to make her a canvas with that quote on it.    I loved how it turned out in the end but it was a lot of trial and error getting the that result.

I printed out the quote and then fussy cut each word out and inked and distressed them to add to the canvas, the limb was hand drawn and then fussy cut and inked and distressed also.

Here is a little video slide-show to show some of the thought process that went into this work.
the first picture in the video is the original quote that she posted on her wall, the next one is my thought of making it like the original on just the plain blue canvas after cutting out all the words.  But then I thought that it just wasn't the type of work I like to do so I started playing around and as you can see, I mixed my texture paste color up way to bright and had to really work to tone that down.  I also cut the flowers for it from a scrap of pattern paper and then inked and distressed them to add some dimension to the Canvas.